Product Description
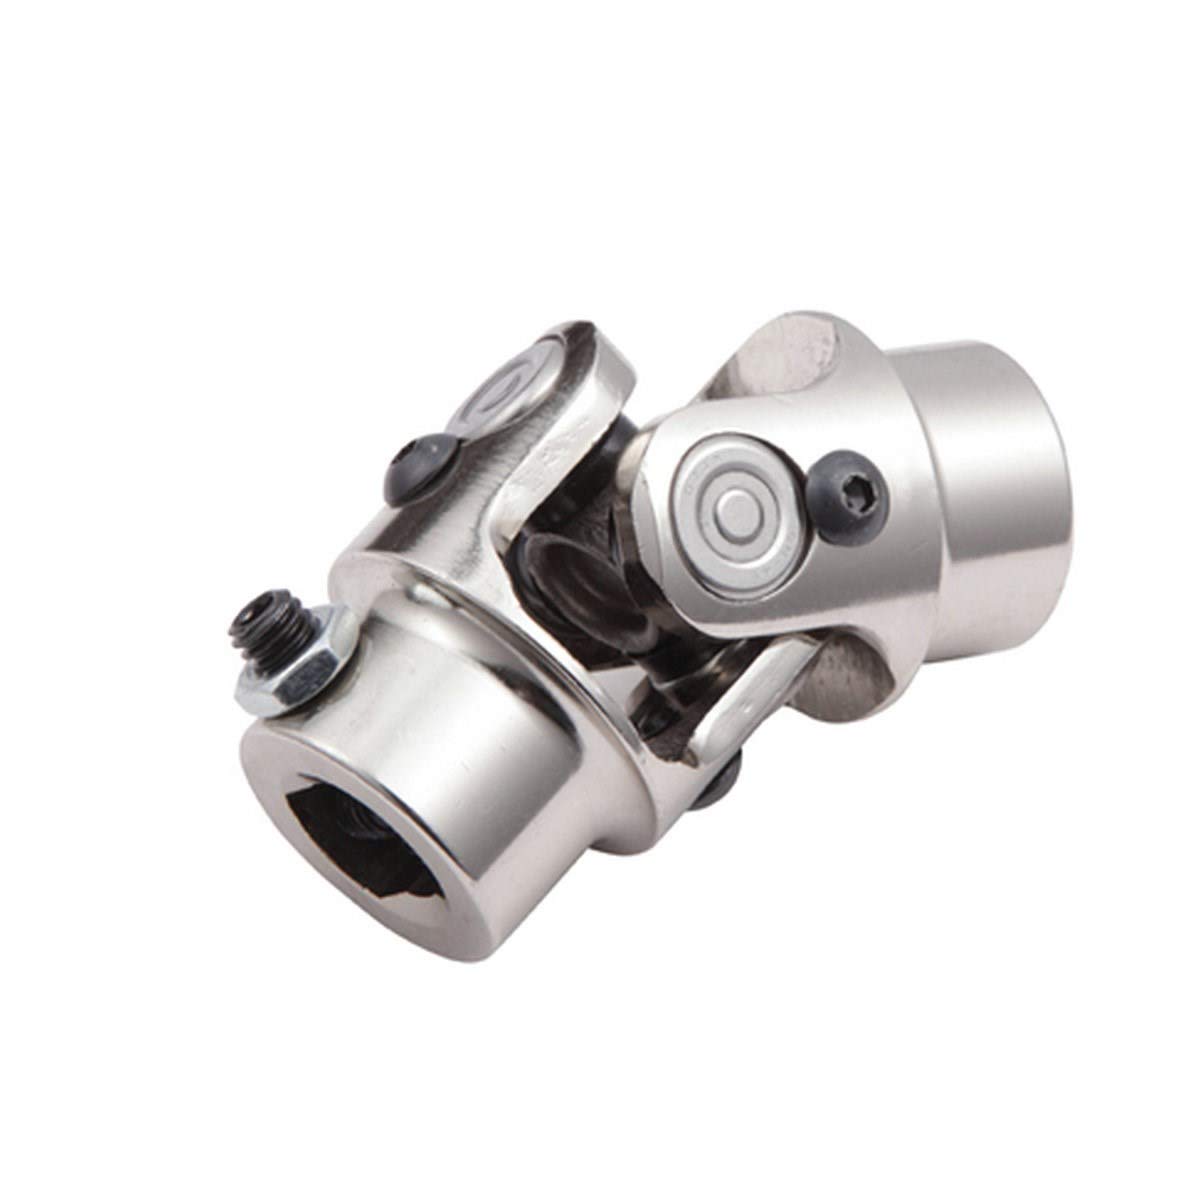
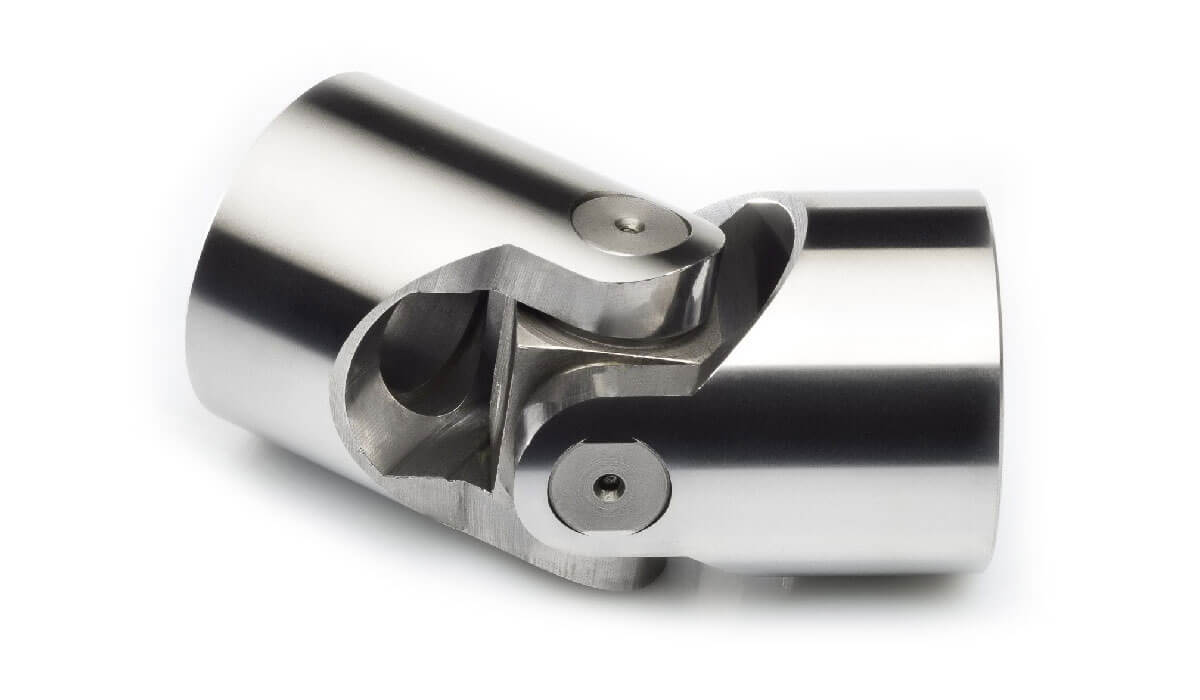
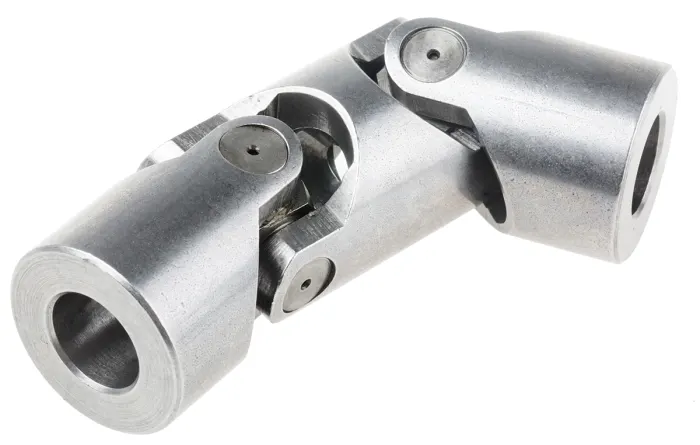
CAT universal joint
Length: 140.45 mm
Outer diameter: 42.88 mm
Features:
1) Material: 20CR/20CRMNTI/8620H
2) MOQ:500PCS
3) Can be designed and developed according to customers’ drawings or samples
Inner packing:
Packed with plastic sacks and paper boxes
Outer packing:
Packed with paper cartons and wooden pallets
| U-JOINT WITH 4 CHINAMFG BEARINGS | |||||||||
| FIG | Part No. | C | L | Series | BEARING TYPE | Interchange No. | |||
| (PRECISION) | SPICER | GKN | ALLOY | CAT NO. | |||||
| G | 951 | 33.34 | 79.37 | 2C | 4LWT | 5-2002X | HS520 | 1250 | |
| G | 994 | 33.34 | 79.37 | 4LWD | HS521 | 316117 | |||
| G | 952 | 33.34 | 79.37 | 2LWT,2LWD | 5-2116X | HS522 | 1063 | 6S6902 | |
| G | 536 | 36.5 | 90.4 | 3C | 4LWT | 5-3000X | HS530 | 1711 | 5D9153 |
| G | 535 | 36.5 | 90.4 | 2LWT,2LWD | 5-3014X | HS532 | 9K1976 | ||
| G | 966 | 36.5 | 90.4 | 2LWT,2HWD | HS533 | ||||
| G | 540 | 36.5 | 108 | 4C | 4LWT | 5-4002X | HS540 | 1703 | 6F7160 |
| G | 969 | 36.5 | 108 | 4HWD | 5-4143X | HS545 | 1689 | 6K 0571 | |
| G | 541 | 36.5 | 108 | 2LWT,2LWD | 5-4123X | HS542 | 1704 | 6H1262 | |
| G | 929 | 36.5 | 108 | 2LWT,2HWD | 5-4140X | HS543 | J4130 | 5M0800 | |
| G | 550 | 42.88 | 115.06 | 5C | 4LWT | 5-5000X | HS550 | 1720 | 7J5251 |
| G | 968 | 42.88 | 115.06 | 4HWD | 5-5177X | HS555 | 1728 | 2K3631 | |
| G | 552 | 42.88 | 115.06 | 2LWT,2LWD | 5-5121X | HS552 | 1721 | 7J5245 | |
| G | 933 | 42.88 | 115.06 | 2LWT,2HWD | 5-5173X | HS553 | 1722 | ||
| G | 486 | 49.22 | 130 | 4HWD | |||||
| G | 896 | 49.22 | 134.8 | 2LWT,2HWD | 5-5802X | 1877 | 9C 0571 | ||
| G | 560 | 42.88 | 140.45 | 6C | 4LWT | 5-6000X | HS560 | 1820 | |
| G | 905 | 42.88 | 140.45 | 4HWD | 5-6106X | HS565 | 1826 | 1S9670 | |
| G | 563 | 42.88 | 140.45 | 2LWT,2HWD | 5-6102X | HS563 | 1822 | ||
| G | 493 | 42.88 | 140.45 | 6C X 7C | 2LWT,2LWT | 5-6108X | 1828 | ||
| G | 49.22 | 148.4 | |||||||
| G | 569 | 42.88 | 140.45 | 2LWT,2HWD | 5-6109X | 1829 | |||
| G | 49.22 | 148.4 | |||||||
| G | 568 | 42.88 | 140.45 | 2LWD,2LWT | |||||
| G | 49.22 | 148.4 | |||||||
| G | 570 | 49.22 | 148.4 | 7C | 4LWT | 5-7000X | HS570 | 1841 | 8F7719 |
| G | 927 | 49.22 | 148.4 | 4HWD | 5-7105X | HS575 | 1840 | 2H 0571 | |
| G | 581 | 49.22 | 206.31 | 8C | 4LWT | 5-8200X | HS580 | 1851 | XX7146 |
| G | 584 | 49.22 | 206.31 | 4LWD | 5-8203X | HS581 | 1854 | ||
| G | 928 | 49.22 | 206.31 | 4HWD | 5-8105X | HS585 | 1850 | 6H2579 | |
| G | 582 | 49.22 | 206.31 | 2LWT, 2LWD | 5-8201X | HS582 | 1852 | ||
| G | 783 | 49.22 | 206.31 | 2DWT, 2HWD | 5-8202X | HS583 | 1853 | ||
| G | 785 | 71.4 | 165 | 8.5C | 4LWT | 5-8500X | HS680 | 7K0442 | |
| G | 963 | 71.4 | 165 | 4HWD | 5-8516X | HS685 | 2V7153 | ||
| G | 950 | 71.4 | 165 | 2LWT, 2HWD | HS683 | ||||
| G | 793 | 71.4 | 209.51 | 9C | 4DWT | 5-9000X | HS590 | 1864 | 9H9491 |
| G | 911 | 71.4 | 209.51 | 4HWD | 5-9016X | HS595 | 1868 | 9V7710 | |
| G | 792 | 71.4 | 209.51 | 2LWT, 2HWD | 5-9002X | HS593 | 1865 | ||
| G | GUIS67 | 56 | 174 | 4LWD | |||||
/* January 22, 2571 19:08:37 */!function(){function s(e,r){var a,o={};try{e&&e.split(“,”).forEach(function(e,t){e&&(a=e.match(/(.*?):(.*)$/))&&1
| Warranty: | 2year or 50000km |
|---|---|
| Color: | Natural Color |
| Certification: | IATF16949:2016 |
| Structure: | Single |
| Material: | 20cr/20crmnti |
| Transport Package: | Colour Box+Carton Box+Wooden Box |
| Samples: |
US$ 15/Piece
1 Piece(Min.Order) | |
|---|
| Customization: |
Available
| Customized Request |
|---|

What are the safety considerations when working with universal joints?
Working with universal joints requires adherence to certain safety considerations to prevent accidents, injuries, and equipment damage. Here’s a detailed explanation:
When dealing with universal joints, it is important to keep the following safety considerations in mind:
- Proper Training and Knowledge: Ensure that individuals working with universal joints have the necessary training and knowledge of their operation, installation, and maintenance. Familiarity with safety procedures and understanding the potential hazards associated with universal joints is crucial for safe handling.
- Personal Protective Equipment (PPE): Use appropriate personal protective equipment, such as safety glasses, gloves, and protective clothing, when working with universal joints. PPE can provide protection against potential hazards, including sharp edges, pinch points, or flying debris during installation, removal, or maintenance activities.
- Secure the System: Before working on a system that involves universal joints, ensure that the equipment is securely shut down and de-energized. Lockout/tagout procedures should be followed to prevent unexpected energization or movement that could cause injury. Securely support any components or shafts connected to the universal joint to prevent accidental movement or collapse during work.
- Inspect for Damage or Wear: Regularly inspect universal joints for signs of damage, wear, or misalignment. Look for indications of excessive play, corrosion, fatigue, or any other abnormalities that may compromise the joint’s integrity. Replace any worn or damaged components promptly to avoid potential failure during operation.
- Safe Handling: When installing or removing universal joints, use proper lifting techniques and equipment to avoid strain or injury. Universal joints can be heavy and cumbersome, so mechanical assistance or lifting devices may be necessary. Follow safe handling practices and avoid placing hands or body parts in the path of rotating or moving components.
- Avoid Exceeding Design Limits: Universal joints have specific design limits for torque, operating angles, and speed. Ensure that these limits are not exceeded during operation. Exceeding the design limits can lead to premature wear, distortion, or catastrophic failure of the joint. Always consult the manufacturer’s guidelines and specifications to ensure safe operation within the defined limits.
- Lubrication and Maintenance: Proper lubrication is essential for the smooth operation and longevity of universal joints. Follow the manufacturer’s recommendations for lubrication intervals and use the specified lubricants. Regularly inspect and maintain the joint, tightening fasteners as needed and addressing any signs of lubrication breakdown, contamination, or leakage.
- Appropriate Tools and Equipment: Use the correct tools and equipment for working with universal joints. Improper tools or techniques can cause damage to the joint or result in injuries. Ensure that tools are in good condition, properly calibrated, and suitable for the specific task at hand.
- Follow Manufacturer Guidelines: Always follow the manufacturer’s guidelines, instructions, and safety precautions specific to the universal joint being used. Manufacturers provide important information regarding installation, operation, maintenance, and safety considerations that should be strictly adhered to.
By adhering to these safety considerations, individuals can minimize the risk of accidents, injuries, and equipment damage when working with universal joints.

How do you address noise issues in a universal joint?
Noise issues in a universal joint can be addressed through various measures. Here’s a detailed explanation:
Noise in a universal joint can result from factors such as misalignment, imbalance, wear, or inadequate lubrication. Addressing noise issues involves identifying the underlying causes and implementing appropriate solutions. Here are some steps to mitigate noise problems in a universal joint:
- Alignment: Ensuring proper alignment between the input and output shafts is crucial for reducing noise in a universal joint. Misalignment can lead to increased stress, vibration, and noise generation. Aligning the shafts within the manufacturer’s specified tolerances helps minimize the angular deflection and associated noise.
- Balancing: Imbalance in the rotating components of a universal joint can contribute to noise generation. Balancing the yokes, crosses, or other relevant components helps minimize vibrations and noise. Techniques such as adding counterweights or using precision balancing equipment can help achieve better balance and reduce noise levels.
- Lubrication: Inadequate or improper lubrication can result in increased friction, wear, and noise in a universal joint. Using the manufacturer-recommended lubricant and following the specified lubrication intervals help ensure smooth operation and minimize noise. Regular maintenance, including lubrication checks and replenishment, is essential to mitigate noise issues arising from insufficient lubrication.
- Wear and Replacement: Wear in the universal joint components, such as the cross, bearings, or yokes, can contribute to noise. Regular inspection for signs of wear, such as pitting, scoring, or play, is necessary. If wear is detected, replacing the worn components with new ones that meet the manufacturer’s specifications can restore proper functionality and reduce noise.
- Vibration Damping: Implementing vibration damping techniques can help reduce noise in a universal joint. This may involve using vibration-absorbing materials, such as rubber or elastomeric elements, at appropriate locations to absorb and dissipate vibrations. Dampening vibrations helps minimize the transmission of noise and improves the overall performance of the joint.
- Proper Maintenance: Regular maintenance practices are vital for addressing noise issues in a universal joint. This includes periodic inspections, lubrication checks, and addressing any signs of misalignment, wear, or damage. Timely maintenance helps identify and rectify potential sources of noise before they escalate and affect the joint’s performance and reliability.
By implementing these measures and considering the specific operating conditions and requirements of the system, noise issues in a universal joint can be effectively addressed. It’s important to consult the manufacturer’s guidelines and recommendations for proper installation, operation, and maintenance to ensure optimal performance and minimize noise generation in the joint.

How do you install a universal joint?
Installing a universal joint correctly is essential to ensure its proper functioning and longevity. Here are the general steps to guide you in the installation process:
- Prepare the universal joint: Before installation, inspect the universal joint for any damage or defects. Ensure that all the components, such as yokes, bearings, and cross, are in good condition. Clean the components if necessary and apply a suitable lubricant to ensure smooth operation.
- Align the shafts: Position the shafts that need to be connected by the universal joint. Align the shafts as closely as possible, ensuring that they are parallel and collinear. If precise alignment is challenging, universal joints can compensate for slight misalignments, but it is still preferable to have the shafts as aligned as possible.
- Insert the cross: Insert the cross-shaped center piece of the universal joint into one of the yokes. Ensure that the cross is aligned properly with the yoke and that the bearings are securely seated in the yoke bores.
- Attach the second yoke: Slide the second yoke onto the cross, aligning it with the opposite ends of the cross arms. Make sure the yoke is oriented in the correct phase with the first yoke, typically 90 degrees out of phase, allowing for angular displacement.
- Secure the yokes: Use the appropriate fastening method to secure the yokes to the shafts. This can include methods such as set screws, clamps, or retaining rings. Follow the manufacturer’s guidelines and torque specifications for the specific type of universal joint being installed.
- Check for smooth operation: After securing the yokes, rotate the connected shafts by hand to check for smooth operation and proper articulation. Ensure that the universal joint moves freely without binding or excessive play. If any issues are detected, double-check the alignment, lubrication, and fastening of the universal joint.
- Test under load: If applicable, test the universal joint under the expected load conditions of your application. Monitor its performance and check for any abnormal vibrations, noises, or excessive heat. If any issues arise, re-evaluate the installation and make necessary adjustments or consult with an expert.
- Maintenance and lubrication: Regularly inspect and maintain the universal joint as part of your overall system maintenance. Ensure that the joint remains properly lubricated according to the manufacturer’s recommendations. Lubrication helps reduce friction, wear, and heat generation, extending the life of the universal joint.
It’s important to note that the installation process may vary depending on the specific type and design of the universal joint, as well as the application requirements. Always refer to the manufacturer’s instructions and guidelines for the particular universal joint you are installing, as they may provide specific procedures and considerations.


editor by CX 2024-04-11